20 Zoom interview tips to help you land your dream job
Learn how to master Zoom interviews with 20 expert tips covering tech setup, professional presentation, and follow-up strategies to get the job you deserve.
Updated on September 30, 2022
Published on February 10, 2022


As organizations around the world adjust to new work models where employees have the opportunity to work from both the office and remote locations, “hot desking” has become increasingly popular. This resource management concept enables employees to reserve workspace resources such as desks, rooms, and open spaces, helping organizations create a streamlined and user-friendly workspace experience.
However, providing your employees a streamlined and frictionless hot desking experience can be challenging with different employees entering the office on different days and a variety of spaces, meeting rooms, and workstations to manage.
Workspace Reservation from Zoom enables users to reserve office space to work on-site and gives organizations the flexibility they need to support a hybrid workforce. And better yet, this functionality is included for organizations that have at least one Zoom Rooms license subscription.
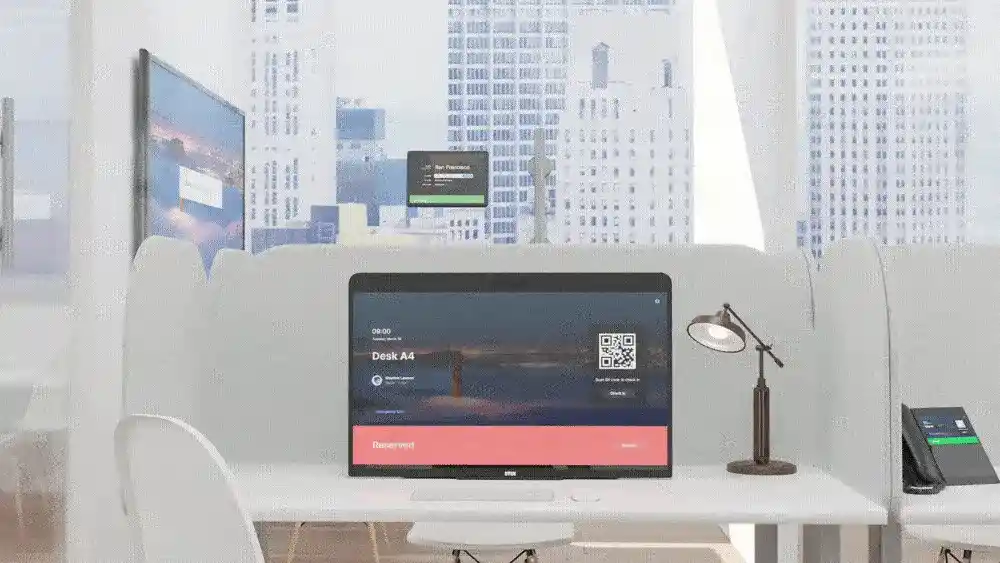
Workspace Reservation gives users the ability to view floor maps, see where their coworkers are sitting and reserve available desks, with or without Zoom devices, and meeting spaces in a variety of ways, including on the Zoom web portal, Kiosk, or Zoom Rooms for Touch devices.

After making a reservation, you can easily check into your reserved space by scanning the QR code in the space, creating a simple and frictionless reservation experience.
Here’s what you need to know about Zoom’s Workspace Reservation:
To use Workspace Reservation, you’ll need a Zoom account in an organization with at least one Zoom Rooms subscription. If you are planning to include workspaces with Zoom Rooms devices, they will need to be on version 5.9 or higher.
Admins will need to enable Workspace Reservation for your organization to use the Workspace Reservation. To enable this feature, sign in to the Zoom web portal with an admin account that has the ability to edit account settings, then follow these steps:
After you’ve enabled Workspace Reservation for your organization, you’ll have the ability to activate Zoom Rooms for Touch devices for Workspace Reservation, upload and edit floor maps, enable Workspace Reservation on kiosks, add a floor map to digital signage, and more using a Zoom device!
Booking a desk or a Zoom Room with Workspace Reservation is easy! You’ll find the Workspaces tab when logged into your account on Zoom.com. To book a space, log into the Zoom desktop client and follow these steps:
Zoom’s unified communications platform helps to enable the flexibility that hybrid workforces demand. With device-agnostic solutions for leading business use cases, including Zoom Rooms, Zoom Meetings, Zoom Team Chat, Zoom Phone, and Zoom Webinars, our platform provides the dynamic functionality that your teams need to succeed.
To see how Zoom can help your organization enhance flexibility and empower your hybrid workforce, schedule a demo with a Zoom expert today!