Practice Makes Perfect

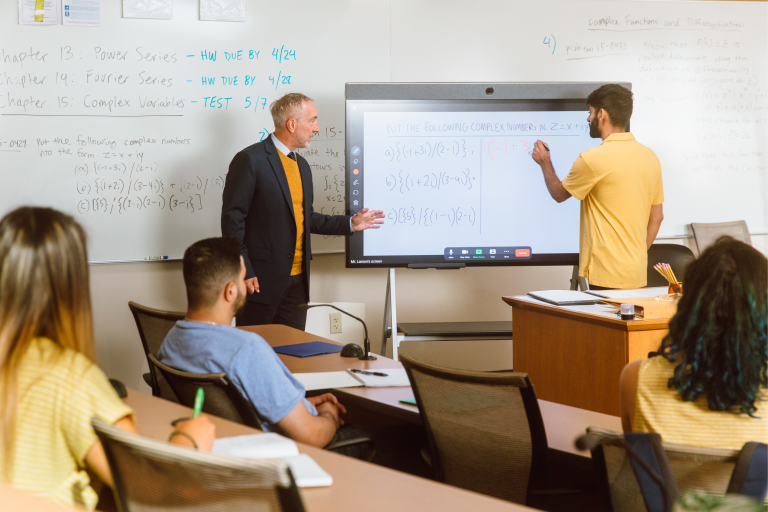
In small groups, students take turns working through a list of questions (differentiated by the teacher) which provides extra hands-on practice answering questions as well as practice supporting their answers. With peer support, students are able to clarify misconceptions and build skills and mastery in a less stressful, ifferentiated environment.

Woman taking notes on Zoom meetings

Key drivers around effective learning:

  • Targeted and Relevant Icon
    Targeted and Relevant

    Differentiated pathways and materials

  • Socially Connected Icon
    Socially Connected

    Peer learning and collaboration

  • Actively Engaging
    Actively Engaging

    Authentic inquiry and application

  • Growth Oriented
    Growth Oriented

    Sustained opportunities for practice

Woman using a tablet

The Why

When teaching in-person, teachers often ask students to show their work on the chalkboard or white board in the front of the class. This helps other students see the steps taken to complete a problem, while also supporting the chosen student’s mastery because they must explain their process. This strategy can be challenging in a remote and/or hybrid context because many students complete their work in an analog fashion (e.g., in a notebook, etc.) which is not as easy to share. To address this challenge, educators can leverage the “whiteboard” feature on zoom which allows both the host and users to show work visually as well as annotate others’ work.

The Feature:

Whiteboard feature

The whiteboard feature on Zoom allows both students and teachers to share their work visually for the whole class to see, whether in person or remote. It also allows additional participants to annotate each other’s work to further enable collaboration and peer learning.

To get to the whiteboard feature teachers first click on “share screen” and then choose whiteboard. Once on the whiteboard, teachers can draw, type text, erase, etc. They can even download the whiteboard once done and allow others to annotate on the whiteboard at the same time. By going to the top navigation where there are three dots labeled “more,” teachers can also enable or disable names being attached to annotations which helps with students using annotations inappropriately.

Image of a computer screen
Student working on physics

The Implementation

To get to the whiteboard feature teachers first click on “share screen” and then choose
whiteboard. Once on the whiteboard, teachers can draw, type text, erase, etc. They can even download the whiteboard once done and allow others to annotate on the whiteboard at the same time. By going to the top navigation where there are three dots labeled “more,” teachers can also enable or disable names being attached to annotations which helps with students using annotations inappropriately.

  • Set clear expectations around how students should (and should not) be using the
    whiteboard

  • Identify group work norms (e.g., jobs, expectations, and even order of sharing)

  • Practice using the feature in low-stakes scenarios (e.g., break off in a group and each draw a dog)

By practicing using the technology and collaborating in a non-content focused scenario, students can build the skills needed to do more content focused tasks effectively.

Once students are comfortable working in small groups, using the feature, and are clear on expectations, teachers can use this technique during small group time. To implement “Practice Makes Perfect” begin with:

  • Give small groups 3-10 questions (depending on time) that they will work through as a group.

  • Each student will take a turn showing their work and/or answering the question visually using the whiteboard feature.

  • After each student works through a problem, their small group can ask questions, offer feedback, support, etc. verbally as well as by annotating on the whiteboard.

  • When they are done sharing, students will save their work and add it to a collaborative document they will share at the end with their teacher. (e.g., google doc, folder, slides, etc.).

  • Then the next student takes the next question and repeats steps 2-4.

These small groups can be heterogeneous, homogenous, choice-based, etc. based on what is needed in that moment of instruction. This allows educators to break students into leveled groups to practice in a more differentiated fashion or build heterogeneous groups where students are able to lean on each other for support (mainly in the upper grades but may work with additional adult support in lower grades as well).

Teachers at whiteboard

Developed with The Learning Accelerator


The Learning Accelerator